Scene setting
Scene setting
Scene settings are used to manage the basic settings, camera, lighting, weather, special effects, and other functions of the Scene. You can set the basic design of the Scene, such as brightness, switch status bar, compass, timeline, atmosphere, depth detection, etc., and you can also set advanced functions such as Camera, Lighting, Weather, and Effects.
Tips:
Modifying the configuration information in SceneViewer will only affect the display effect of the current page and will not save the information. Refreshing the page or re-entering the SceneViewer view will not retain the previous configuration information.
Basic
 Function description
The basic setup information is as follows:
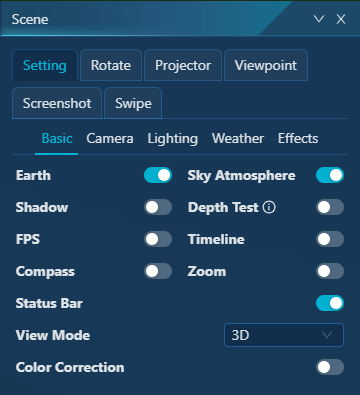
- [Earth]: Controls whether the sphere is displayed. Enabled by default.
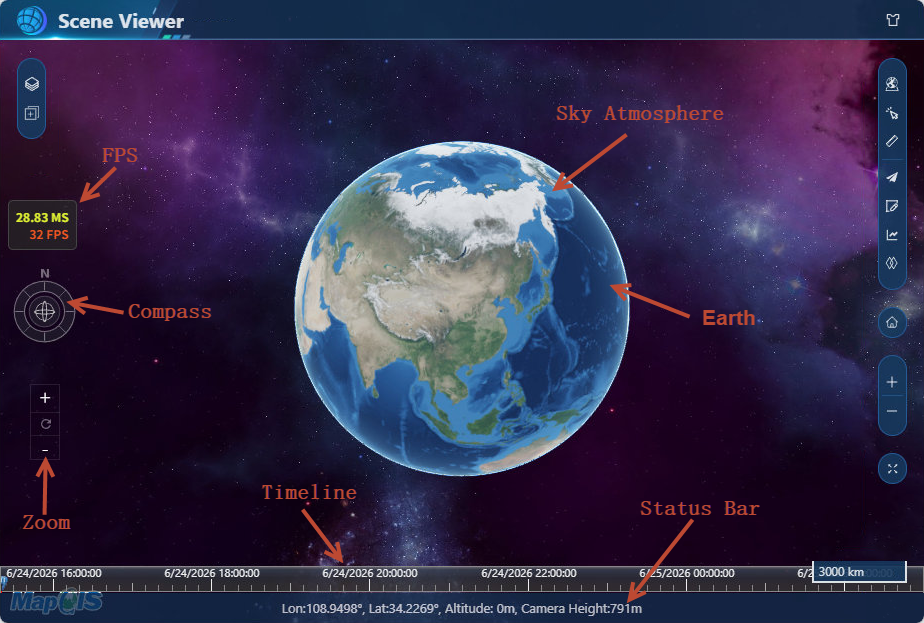
- [Sky Atmosphere]: Controls whether to display the atmospheric rendering effect, and starts it by default.
- [Shadow]: Whether to display the shadow effect, it is turned off by default.
- [Depth Test]: Whether to enable depth detection is enabled by default. Normally, when adding terrain data to a scene, you can turn on depth detection to achieve a better blending effect with the terrain.
- When off: Entities (billboards, labels, polylines, model caches, etc.) are always drawn on top of the terrain (solid levitation) and are not obscured by the terrain, but may not be real.
- When on: The solid and the terrain are tested in depth, and the occlusion relationship is determined according to the relative height. The entity can be obscured by the terrain or inserted into the terrain, and the visual effect is more realistic and accurate.
- [FPS]: When enabled, the frame rate panel can be displayed on the left side of the view, which displays the frame rate of real-time data transmission, which is turned off by default.
- [Timeline]: Whether to turn on the timeline panel that comes with Cesium, it will change dynamically according to the clock, and this function can be enabled when performing various time simulations.
- [Compass]: Whether to turn on the compass control that comes with Cesium.
- [Zoom]: Whether to turn on Cesium's built-in zoom control. "Reset View
 " here is to jump to the view of the entire Earth.
 - [Status Bar]: Whether to turn on the bottom status bar, the status bar records the Longitude and Latitude coordinates, Altitude, Camera Height and other information of the mouse's location.
- [View mode]: Includes 3D, 2D and 2.5D modes.
- 3D: A complete three-dimensional earth model that can be freely rotated, zoomed, and tilted to simulate the real earth;
- 2D: Project the earth as a flat map, the map is not rotatable, only pan and zoom is supported;
- 2.5D: A "Pseudo-three-dimensional" view that unfolds a local area of the Earth into a rectangular plane, but retains altitude (Z-axis) information.
- [Color Correction]: After turning on, you can adjust the brightness, contrast and other information of the entire scene.
- Brightness: The brightness of the current scene is adjusted, and the range is -1~1.
- Contrast: The brightness and height of the current scene are adjusted, with a range of 0~2.
- Hue: The brightness of the current scene is adjusted, and the range is -1~1.
- Saturation: The brightness of the current scene is adjusted, with a range of 0~3.
- Exposure: The exposure of the current scene is adjusted, with a range of -1~1
Camera
The camera setting parameters are as follows:
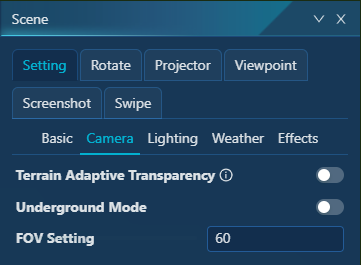
- [Terrain Adaptive Transparency]: When the terrain adaptive transparency is turned on, you can set the near/far distance. When the camera height is higher than the far distance, the surface is opaque, that is, the underground part is not displayed. When the camera height is between the far distance and the near distance, the surface is translucent, and the blurred underground part can be seen. When the camera height is lower than the near distance, the surface is fully transparent, and the underground part is clearly visible.
- [Underground Mode]: Whether to turn on underground mode is turned off by default. When paying attention to underground space, it is recommended to turn on underground mode.
- Surface transparency: Set the surface transparency value, range 0~1.
- Independent control of image projection: Controls whether the surface image is affected by the "Surface Transparency" value, and is not affected by it after it is turned on.
- [FOV setting]: FOV (field angle of view), the camera can receive the range of angles of the image, which can also be often referred to as the field of view. Adjust the value of the field of view (FOV) from 0~180.
Lighting
The lighting setting parameters are as follows:
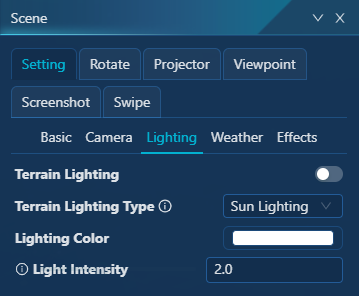
- [Terrain Lighting]: Whether to turn on the surface lighting effect.
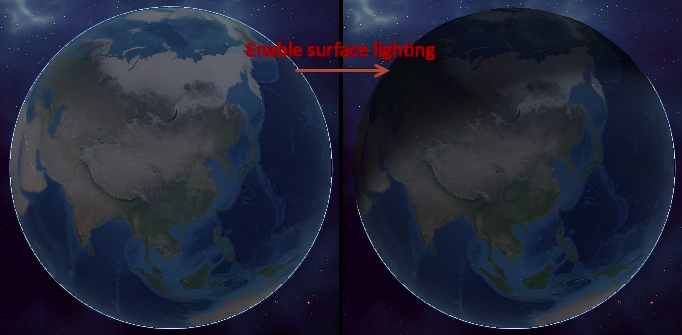
- [Terrain Lighting Type]: Set the surface lighting type, including sun lighting and vertex lighting.
- Sun Lighting: Simulate real solar illumination effects: Generate dynamic lighting changes based on the position of the sun.
- Vertex Lighting: Based on the lighting calculation of vertex normal vectors, the effect difference can only be seen if the terrain contains normal vector information.
- [Lighting Color]: Set the surface light color.
- [Lighting Intensity]: Adjusts light source intensity. Higher values produce brighter lighting (range 0-5).
Weather
The weather setting parameters are as follows:
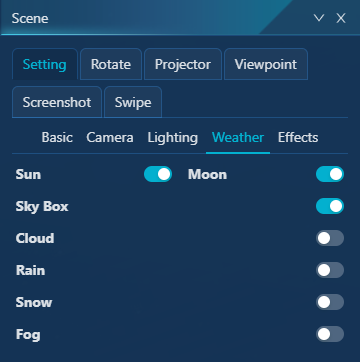
- [Sun]: Whether to turn on the sun, turn on by default, when zooming out, you can see the sun.
- [Moon]: Whether to turn on the moon, turn on by default, when zooming out the window, you can see the moon.
- [Sky box]: Whether to turn on the sky, it is turned on by default, and when the window is zoomed out, you can see the sky.
- [Cloud]: Whether the cloud layer is enabled or turned off by default, and the cloud layer can be seen when the window is zoomed out.
- [Rain]: Whether to turn on the rain weather effect, it is off by default, and when it is on, you can set the rain effect parameters and add the rain effect to the scene.
- [Snow]: Whether to turn on the snow weather effect, it is off by default, and when it is on, you can set the snow effect parameters and add the snowfall effect to the scene.
- [Fog]: Whether to turn on the fog weather effect, it is turned off by default, and when it is on, you can set the fog effect parameters and add the fog effect to the scene.
Effects
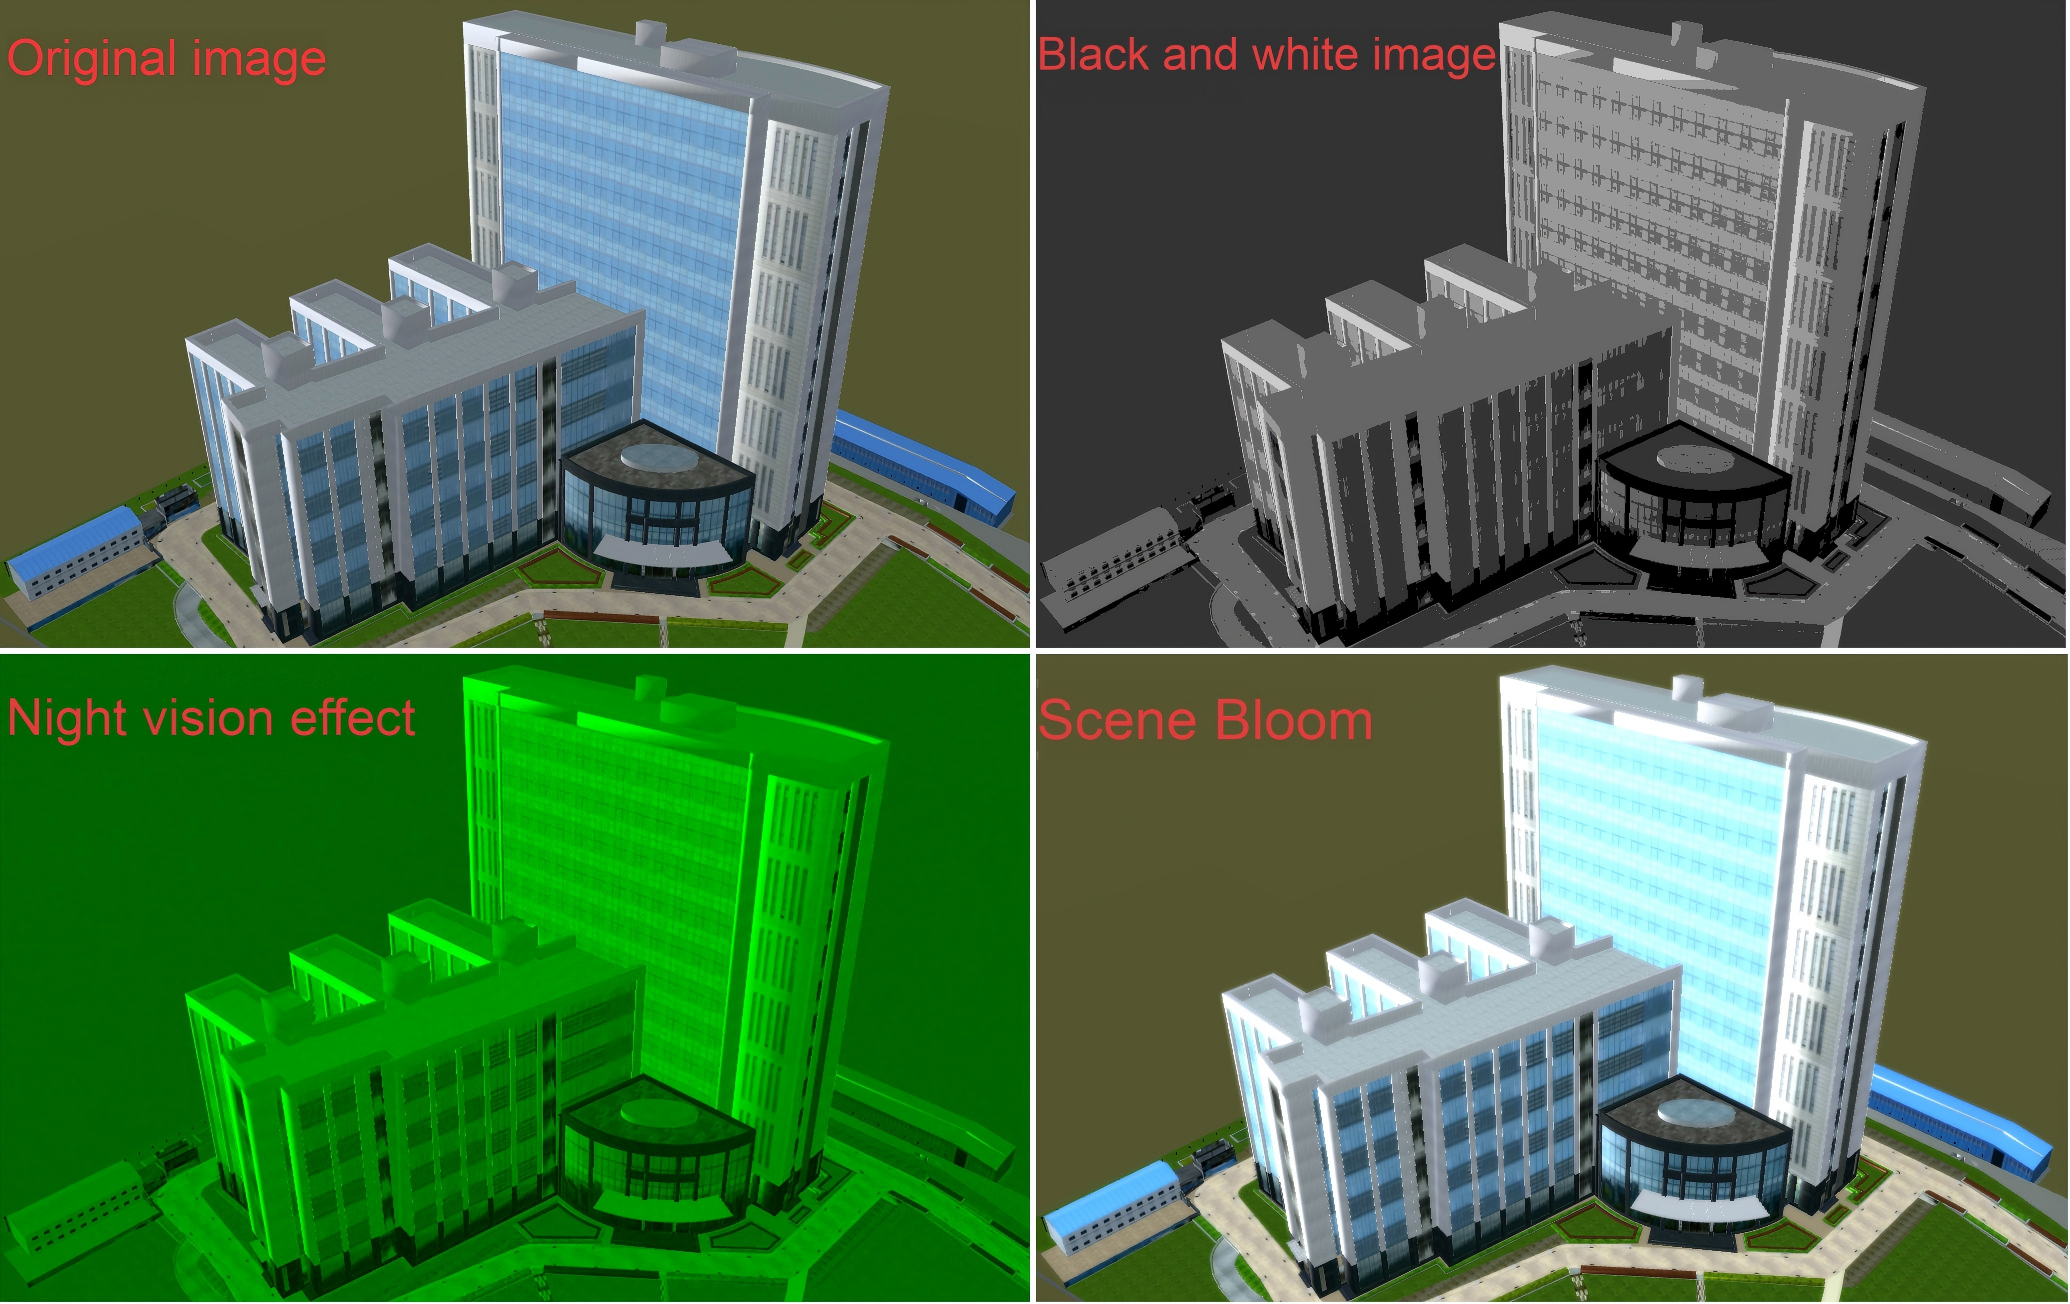
Configure the entire scene to display effects, including black & white and night vision effects.
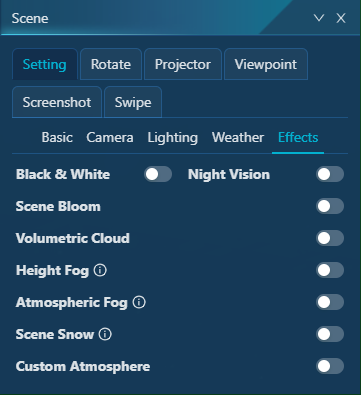
- [Black & White]: After opening, black and white photo special effects are used;
- [Night Vision]: After turning on, the night vision effect is adopted;
Rotate
The system supports two rotation modes:
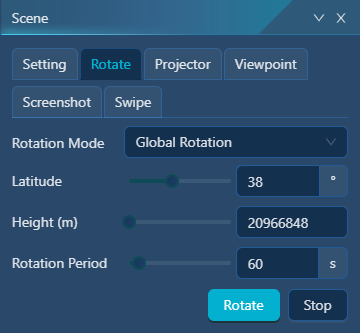
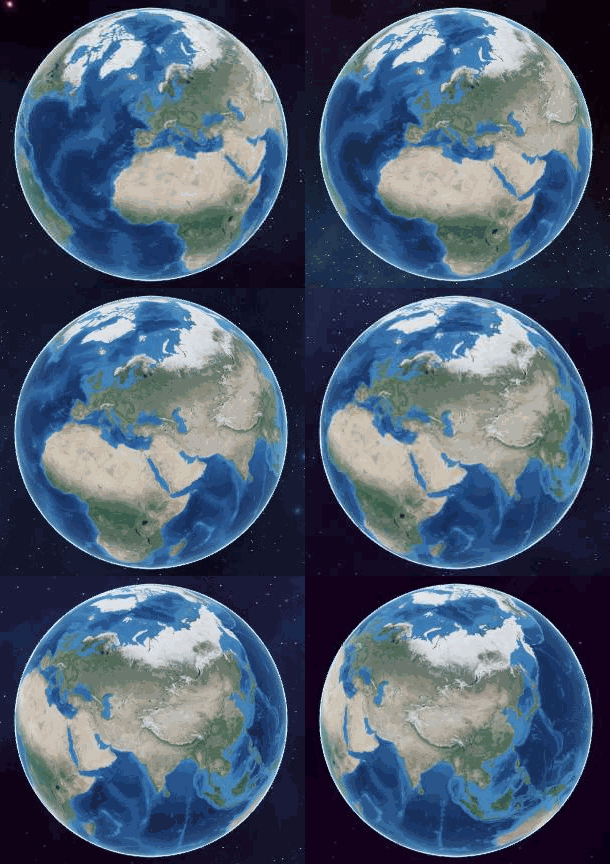
- [Global Rotation]: Based on the global range, rotate according to the specified latitude axis.
- Latitude: Sets the latitude value of the axis of rotation.
- Height (meters): The height of the rotating viewpoint from the earth, the higher the value, the farther away it is from the earth.
- Rotation period: It takes time to set the earth to rotate once, and the smaller the period value, the faster the rotation speed.
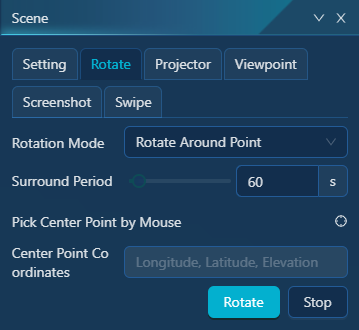
- [Rotate Around Point]: Rotate according to the coordinates of the specified center point based on the local range. Click
 to interactively pick up the rotation center point in the scene view.
 - Surround Period: Set the time to rotate around the center point, the smaller the period value, the faster the rotation speed.
Projector
Function description
Scene projection, which can realize the function of projecting videos/pictures in the designated area of the 3D scene.
In order to better display the function and achieve the expected effect, it is recommended to cast the video on the 3D model or 2D map service, and usually choose to deliver the video based on the 3D model data.
 Operating instructions
1. Go to the SceneViewer, click the "Scene" function in the right toolbar, and switch to the "Projector" panel:
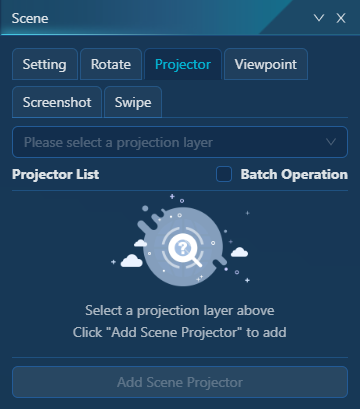
2. Click the drop-down box after "Please select a projection layer", enter a layer name, and click "Add layer" to create a new layer.
Tips:
Layers can be used to manage built delivery scenes, and multiple layers can be created to manage delivery scenes in different areas and at different times. When adding a scene delivery, you must first build a layer.
3. Click "Add Scene Projector" to build a scene projector:
- [Name]: Set the name of the projetcor scene.
- [Description]: Fill in the description text.
- [Data Type]: Set the delivery data type, including images and videos.
- Image: Place the specified image in the designated area;
- Video: Cast the specified video in the specified area. Currently, two video formats: *.mp4 and *.m3u8 are supported.
- [Video URL]: After selecting a data type, you need to enter the address of the corresponding image/video resource. Currently, MapGIS only supports HTTP/HTTPS image/video resources, and you can configure static file services such as Nginx to share image/video resources.
- [Projection Mode]: Set the delivery location information. You can use "Input Camera Parameters" and "Draw Projection Surface" methods:
Input Camera Parameters: Simulate the camera shooting effect and set the projection area.
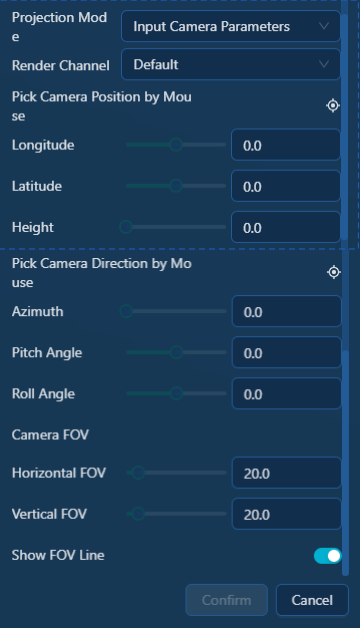
- Render Channel: Includes four methods: default, after earth render, after tile render, and after tile overlay render.
- Pickup Camera Position by Mouse: Click "
 " to interactively pick up the camera position in the scene view. After successful pickup, the longitude, latitude, and altitude at this location are automatically retrieved..
 - Longitude/Latitude/Altitude: You can enter a numerical value to modify the longitude/latitude/altitude of the camera position.
- Mouse picks up camera orientation: Click "" to interactively pick up the orientation point in the scene view. After successful pickup, you can calculate the azimuth/pitch angle based on the relationship between the camera position point and the orientation point.
- Azimuth: The camera is facing the angle clockwise from true north in the horizontal plane.
- Pitch Angle: The camera is facing the angle between the vertical and horizontal planes, with positive and negative overhead.
- Roll Angle: The roll angle of the projected scene surface, which defaults to 0.
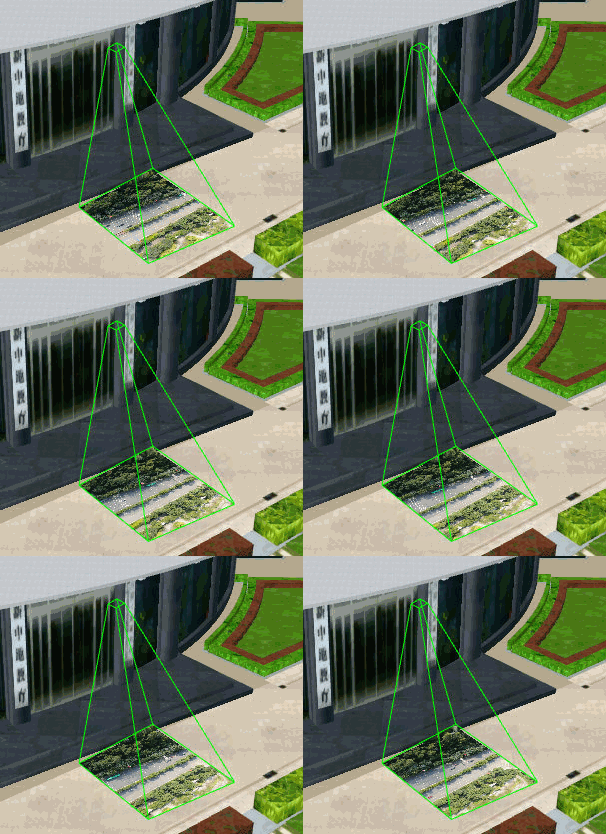
- Horizontal/Vertical FOV: Camera Horizontal/Vertical Angle Range,A larger value results in a wider projection area.
- Show FOV Line: Whether to display the cone line of the camera.
Draw Projection Surface: You can interactively draw rectangles or polygons in the scene view to set the range of the projectile.
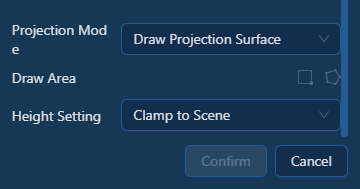
- Draw Area: You can interactively draw a rectangle or polygon in the scene view, using the range as a drop surface.
- Height Setting: Set the height of the projection surface, including "Use boundary point height", "Ignore the height of the boundary point, use the specified height", and "Clamp to Scene".
4. After completing the parameter settings, click "Confirm" to successfully add a delivery scene.
5. Users can build multiple layers and delivery scenes according to their needs.
Viewpoint
Function description
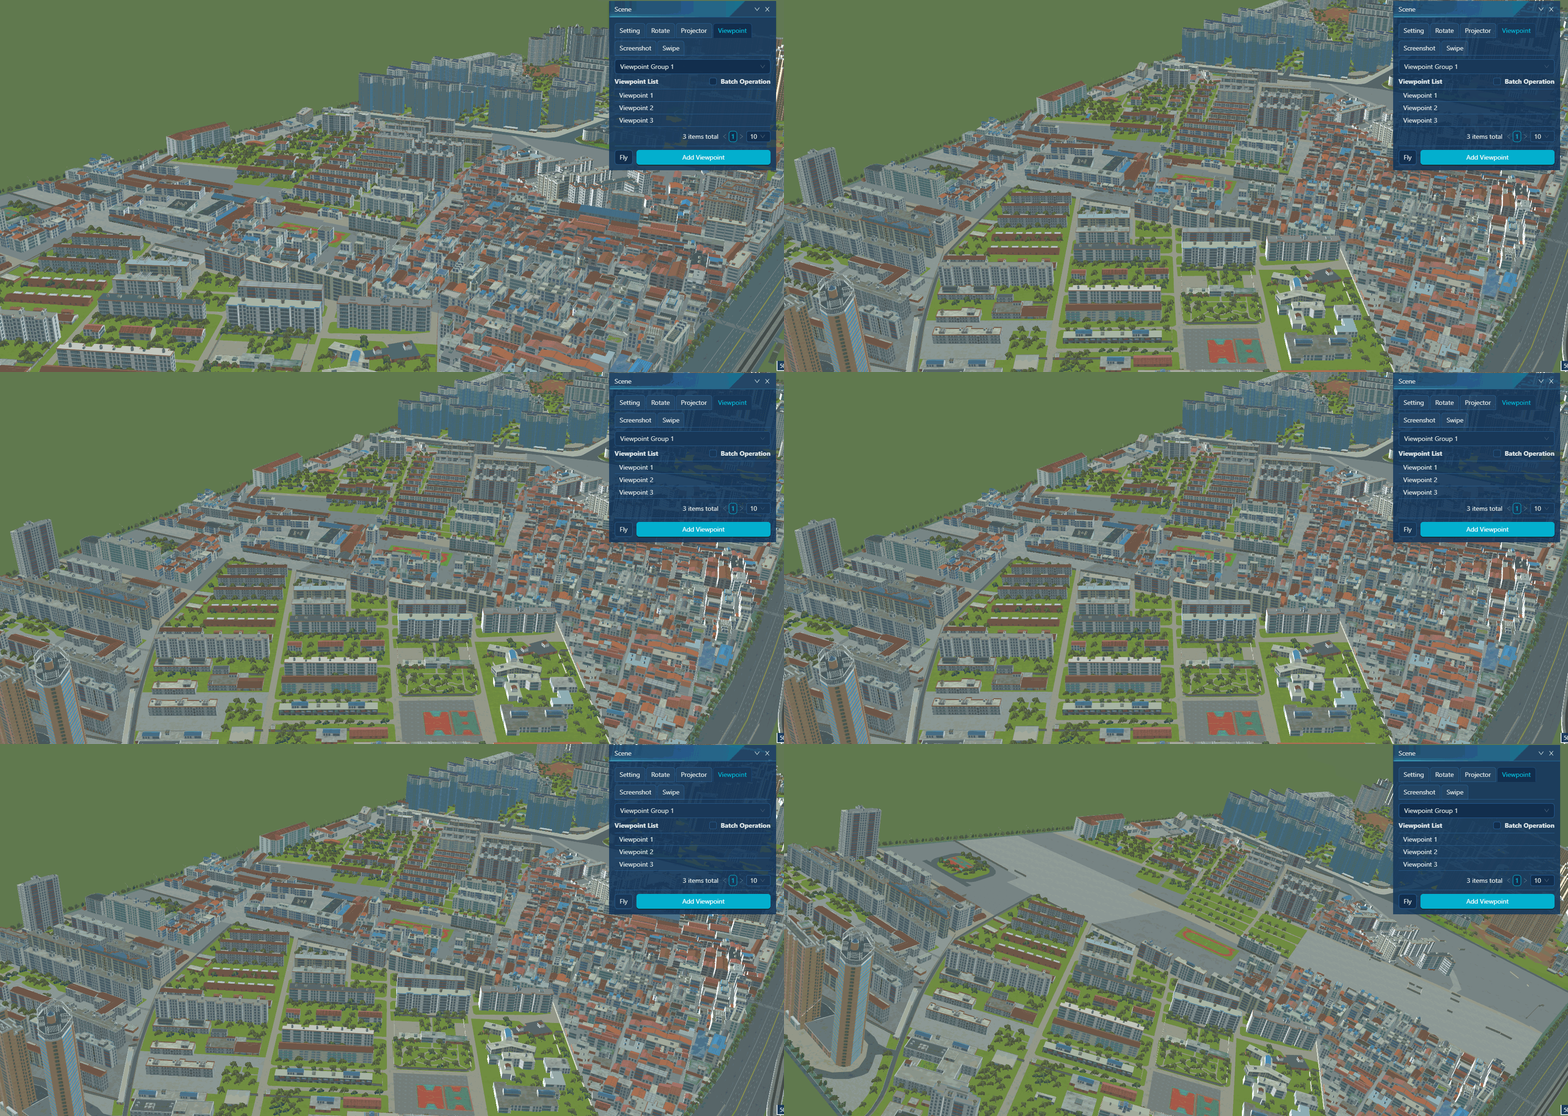
Viewpoint management is supported, and users can save the currently interesting scene as a viewpoint and save it to the viewpoint management module. Click the saved viewpoint in viewpoint management to quickly switch to the viewpoint location saved at that time. It can be used to manage hot spot information or key areas of interest to users for quick location and use next time.
Operating instructions
1. Go to the SceneViewer view, click the "Scene" function in the right toolbar, and switch to the "Viewpoint" panel:
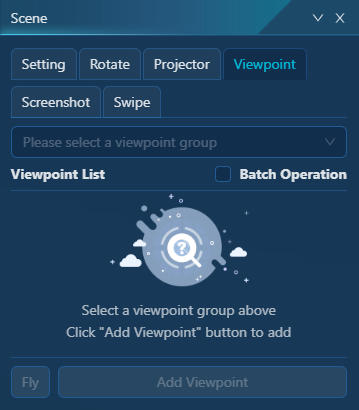
2. Click the drop-down box after "Please select a viewpoint group", enter the layer name, and click "Add viewpoint group" to create a new viewpoint group.
Tips:
Viewpoint groups can be used to manage the viewpoints of a build, and you can create multiple viewpoint groups to manage viewpoints for different areas and topics. When you add viewpoints, you must first build a viewpoint group.
3. Click Add Viewpoint to create a new viewpoint. Adjust the scene to the perspective of interest and set the parameter information. Click Confirm to add a new viewpoint.
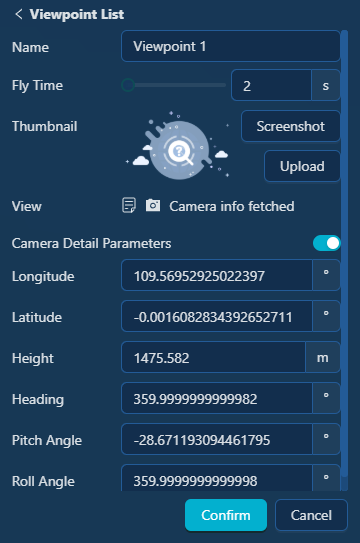
- [Name]: Sets the name of the current viewpoint.
- [Flight Time] The total flight time from another viewpoint to the current viewpoint, in seconds.
- [Thumbnail]: Sets the thumbnail of the current viewpoint.
- Screenshot: Click the "Screenshot" button to directly capture the image of the current viewpoint and display the image preview area.
- Upload: You can upload a local image to the server as a preview image of the viewpoint.
- [Copy Camera Info
 ]: You can copy the existing viewing angle information to the paste board.
 - [Update Camera Info
 ]: After adjusting the perspective, click this function to update the perspective information.
 - [Camera Detail Parameters]: When enabled, the longitude/latitude/height/heading/pitch angle/roll angle information of the Current viewpoint can be displayed. Users can enter values to adjust the viewing angle information.
4. You can add multiple viewpoints interactively. Click "Fly" to view all viewpoints in the viewpoint group.